After Vehicle Spy is opened and a logon name is selected, use the main menu bar to select File> New.
Open the Setup Diagnostics window by using the main menu bar to select Spy Networks> Diagnostics. Use the + button to add a GMLAN > DPS Programming job.
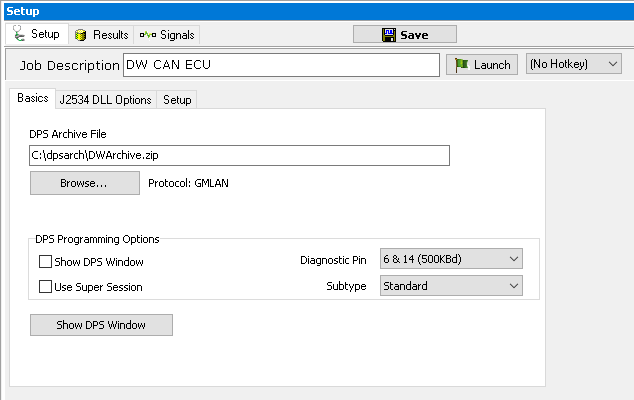
The first thing to change is the Job Description. In this tutorial, more than one DPS programming service will be setup. If the default descriptions are not changed, it will be difficult to tell them apart. Name this first DPS setup DW CAN ECU. Other important settings to verify in the Setup tab (Figure 1) are the DPS Archive File to program and the Diagnostic Pins to program on.

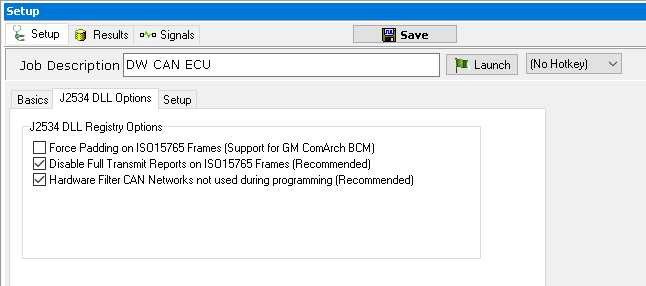
The J5234 DLL Options tab (Figure 2) has options for configuring J2534 communication. Normally, the defaults are acceptable.

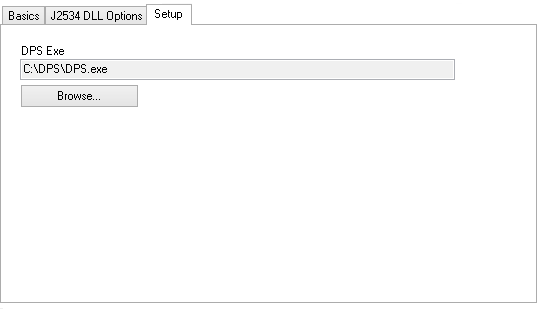
The DPS Exe field on the Setup tab (Figure 3) should point to the location of the DPS.exe file. If DPS is installed in a different directory than what is shown, click Browse and select the proper directory.

Add a second DPS Programming service for a second ECU to program naming it SW CAN ECU. If you are following along with the finished example, change the DPS archive file to a valid archive file for both Diagnostic Jobs.