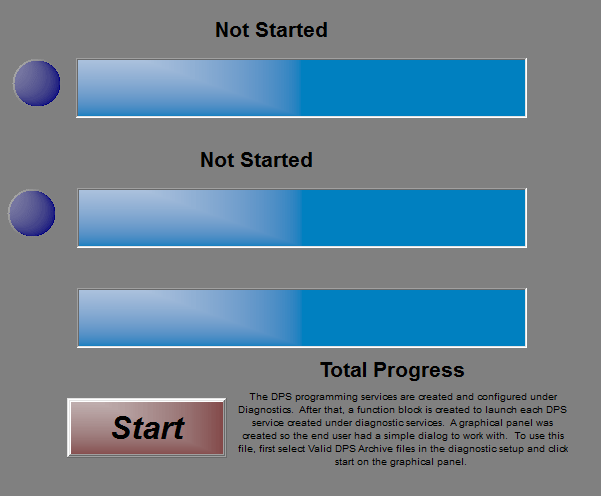
Let's make the DPS programming easier for the user by building a graphical panel.
Select Measurement> Graphical Panels from the main menu. This is a chance to be creative! There is no real right or wrong way to make a graphical panel.
For this graphical panel 7 tools will be selected and setup from along the bottom of the screen.
Some of the tools will be repeated, one for each DPS programming service.
Build the panel using the following tools with instructions:
Function Block Button to start the function block. The critical button
properties to have set are:
FunctionBlock: Program ECU
FBlockAction: 0-Start
Text Display
Signal: Select Jobs and select the appropriate job. Select
Log and Value property for the first service.
(Make sure Evaluate as text is selected.) Repeat this for the second service.
Bargraph
Signal: Select Jobs, select Percent and Value property
for the first service.
Min: 0
Repeat this for the second service.
LED
Signal: Select Jobs, select the first service and the
Is Successful property.
Repeat this for the second service.
With this setup, when the function block button is clicked, the DPS programming jobs will be started. The text displays will give the current text from the logs. The bargraphs will display the progress of the programming and the LEDs will turn on when the programming is complete.
