The next thing to setup is a capture function block. This example will use a very
simple setup.
To start, open up Function Blocks from "Scripting and Automation" then "
Function Blocks". Use the + to create a new function block and select Capture.
A capture function block has a few options that need to be configured to tell it how to
capture. Below are the settings needed for a simple CoreMini capture.
Buffer
In this section, you can select the messages you want to capture. The default is to
capture all messages. For this example, leave the default settings.

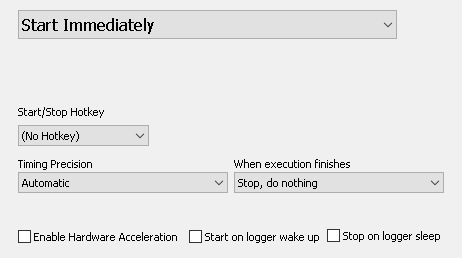
Start
This section sets when to start the capture. For this example, select "Start
Immediately". When the hardware is powered, it will start collecting messages.
Also, check the "Automatically restart when complete". With this option
enabled, the hardware will create a new buffer once the current one is full. This will
let the hardware capture continuously until power is disconnected.

Stop and Trigger
This tab holds the settings for how to capture. For a simple CoreMini capture,
select "Collect in a one-shot buffer" and enter in 5000 messages for the buffer
size. With these settings, the device will capture all incoming messages and split them
into buffers of 5000 messages each.

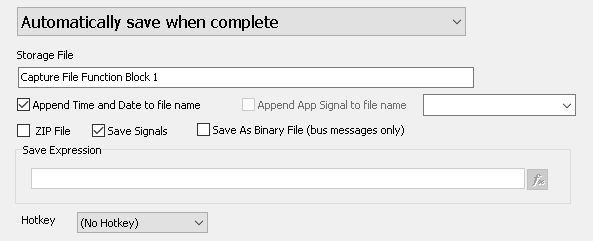
Storage
The settings in this tab tell how to save the data. For this example, leave the defaults.

Data
This tab shows the data that is being collected as the function block is running. This
does not apply to CoreMini Logging. If this script was ran in Vehicle Spy, the captured
messages could be viewed here.
That's all that is needed to set up the capture.