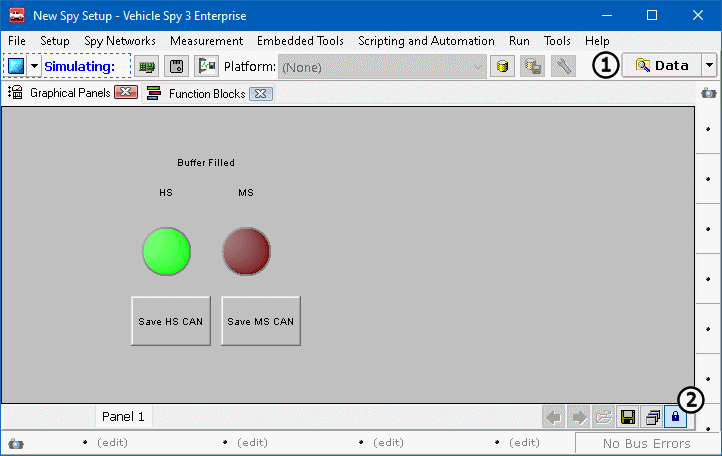
To test the file, click on the blue Play button near the top left corner of the screen. When viewing from the Graphical
panel, the LED for each channel should be red until the capture has filled its buffer. Once the simulation has finished one loop the LEDs
will light nearly simultaneously. Now click the Save buttons for both Function Blocks to save the buffers to the data
directory. The location of the collected data can be viewed by clicking on the Data button (Figure 1: ).
The Graphical Panel can be locked to keep the buttons from moving around using the Lock button
(Figure 1:
 ) in the lower right of the panel.

Congratulations the Graphical Panel is complete! Try completing a few exercises to build and reinforce Capture Function Block knowledge. Exercise 2 covers new concepts. The help documents are a great tools for learning new aspects of Vehicle Spy. For exercise 2 see Capture Function Blocks.