
|
WN Website: Manage Vehicles |
Wireless NeoVI website administrators can use the main menu Manage -> Vehicles to open a table similar to Figure 1.
This table contains links to add a new vehicle or to edit vehicles, loggers, and fleets already in the system.
Last Update:
Saturday, May 11, 2013
A vehicle can have only one device (logger) assigned to it at any given time.
A vehicle can be assigned to a fleet that contains multiple vehicles.
Features for Manage Vehicles
 ) - asks to delete the vehicle in that row.
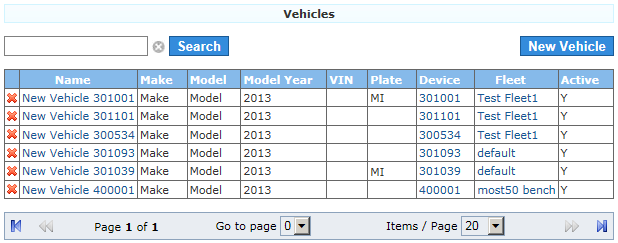
Figure 1: Manage Vehicles shows a table with links to edit any vehicle on the Wireless NeoVI website.
 neoVI PLASMA Documentation - (C) Copyright 2019 Intrepid Control Systems, Inc.